
I love the miniature effect you can get from tilt shift lenses; they’re so captivating. And although the price of a tilt shift lens is not ridiculously high in the grand scheme of photography equipment, in business terms they’d be end up as a liability (or at least for me!).
They still look awesome, of course. But it’s not impossible to recreate on the computer…

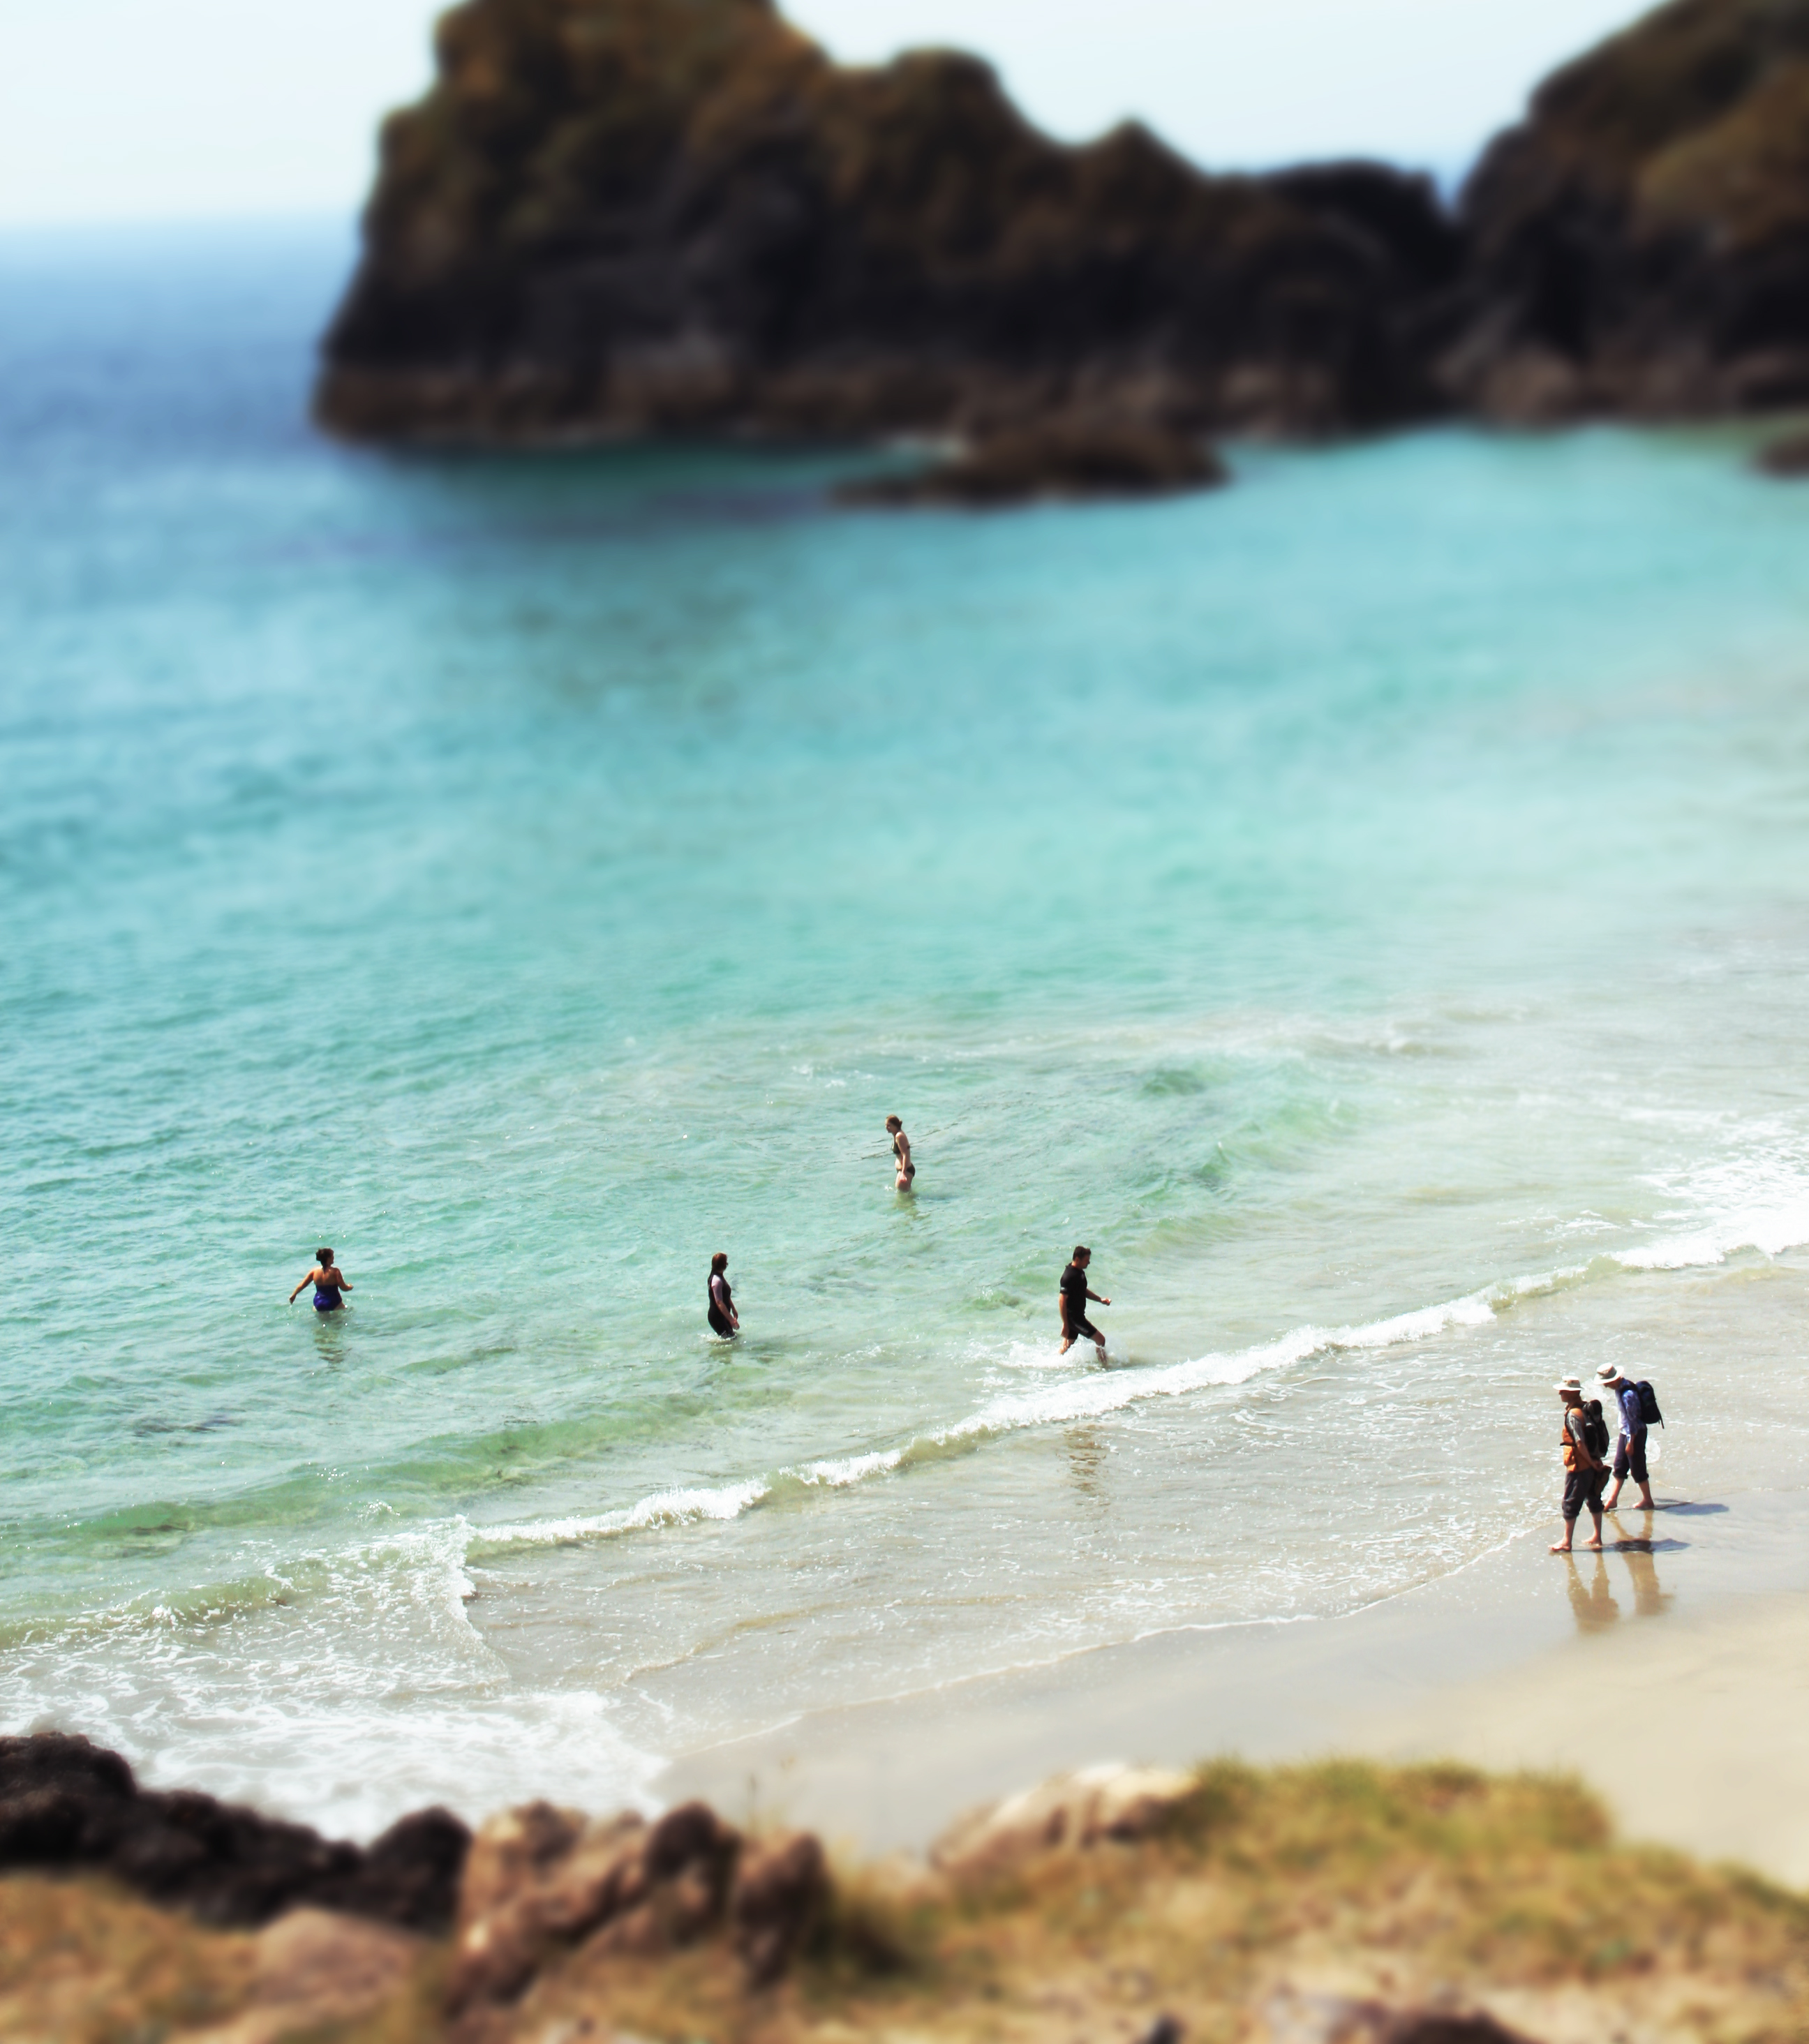
I took these photos several years ago using a Canon 400D and the 18-55mm kit lens (my first taste of a DSLR :)). It’s from one of the most beautiful parts of the country in my opinion – Cornwall. Known as the Lizard, it’s the most southerly point of mainland Britain. One of the amazing things about it is that parts of the beach are surrounded by sea on two sides! (hard to see in this photo, but trust me!).
So they started life as fairly boring jpegs. But yesterday, whilst browsing through these old photos, I realised it had potential.
Here are the fairly boring jpegs:


Potential DIY tilt shift photos must usually meet some criteria (it’ll be hard to get that toy-like effect without any of these aspects):
– Taken from a high viewpoint (we usually view miniature scenes from above)
– The subject (in my example the people) are often smalll, or small in comparison to another object in the photo (in this case the rocks).
– Use a wide angle of view (this crams more into the photo and so generally makes your subject look smaller by default)
Then bring on the blur! If the photos matches the above criteria, they’ll probably already look somewhat miniature, but it’s the blurring (i.e. creating a smaller depth of field) that finishes off the miniature look. I have no idea why, if I was honest, though! I used gaussian blur in Photoshop.
When you are blurring out the photo, make sure that you only leave a relatively small area in focus (which should include your subject) that goes across the photo horizonally like a stripe.
Oh, and to finish off my photo I messed around with the curves a little (the master and green channel). Also by saturating the photo you can increase the toy effect.
Want to know more?
This site has some incredible examples of tilt shift photos:
http://www.smashingmagazine.com/2008/11/16/beautiful-examples-of-tilt-shift-photography/
And there are lots of detailed tutorials for how to recreate the effect yourself, this one is lovely and simple:
http://visualphotoguide.com/tilt-shift-photoshop-tutorial-how-to-make-fake-miniature-scenes/
