
How to get the best out of an infrared filter teamed with a normal camera.
The following photos were taken using my Canon 5D mark iii and a 52mm Hoya R72 infrared filter.
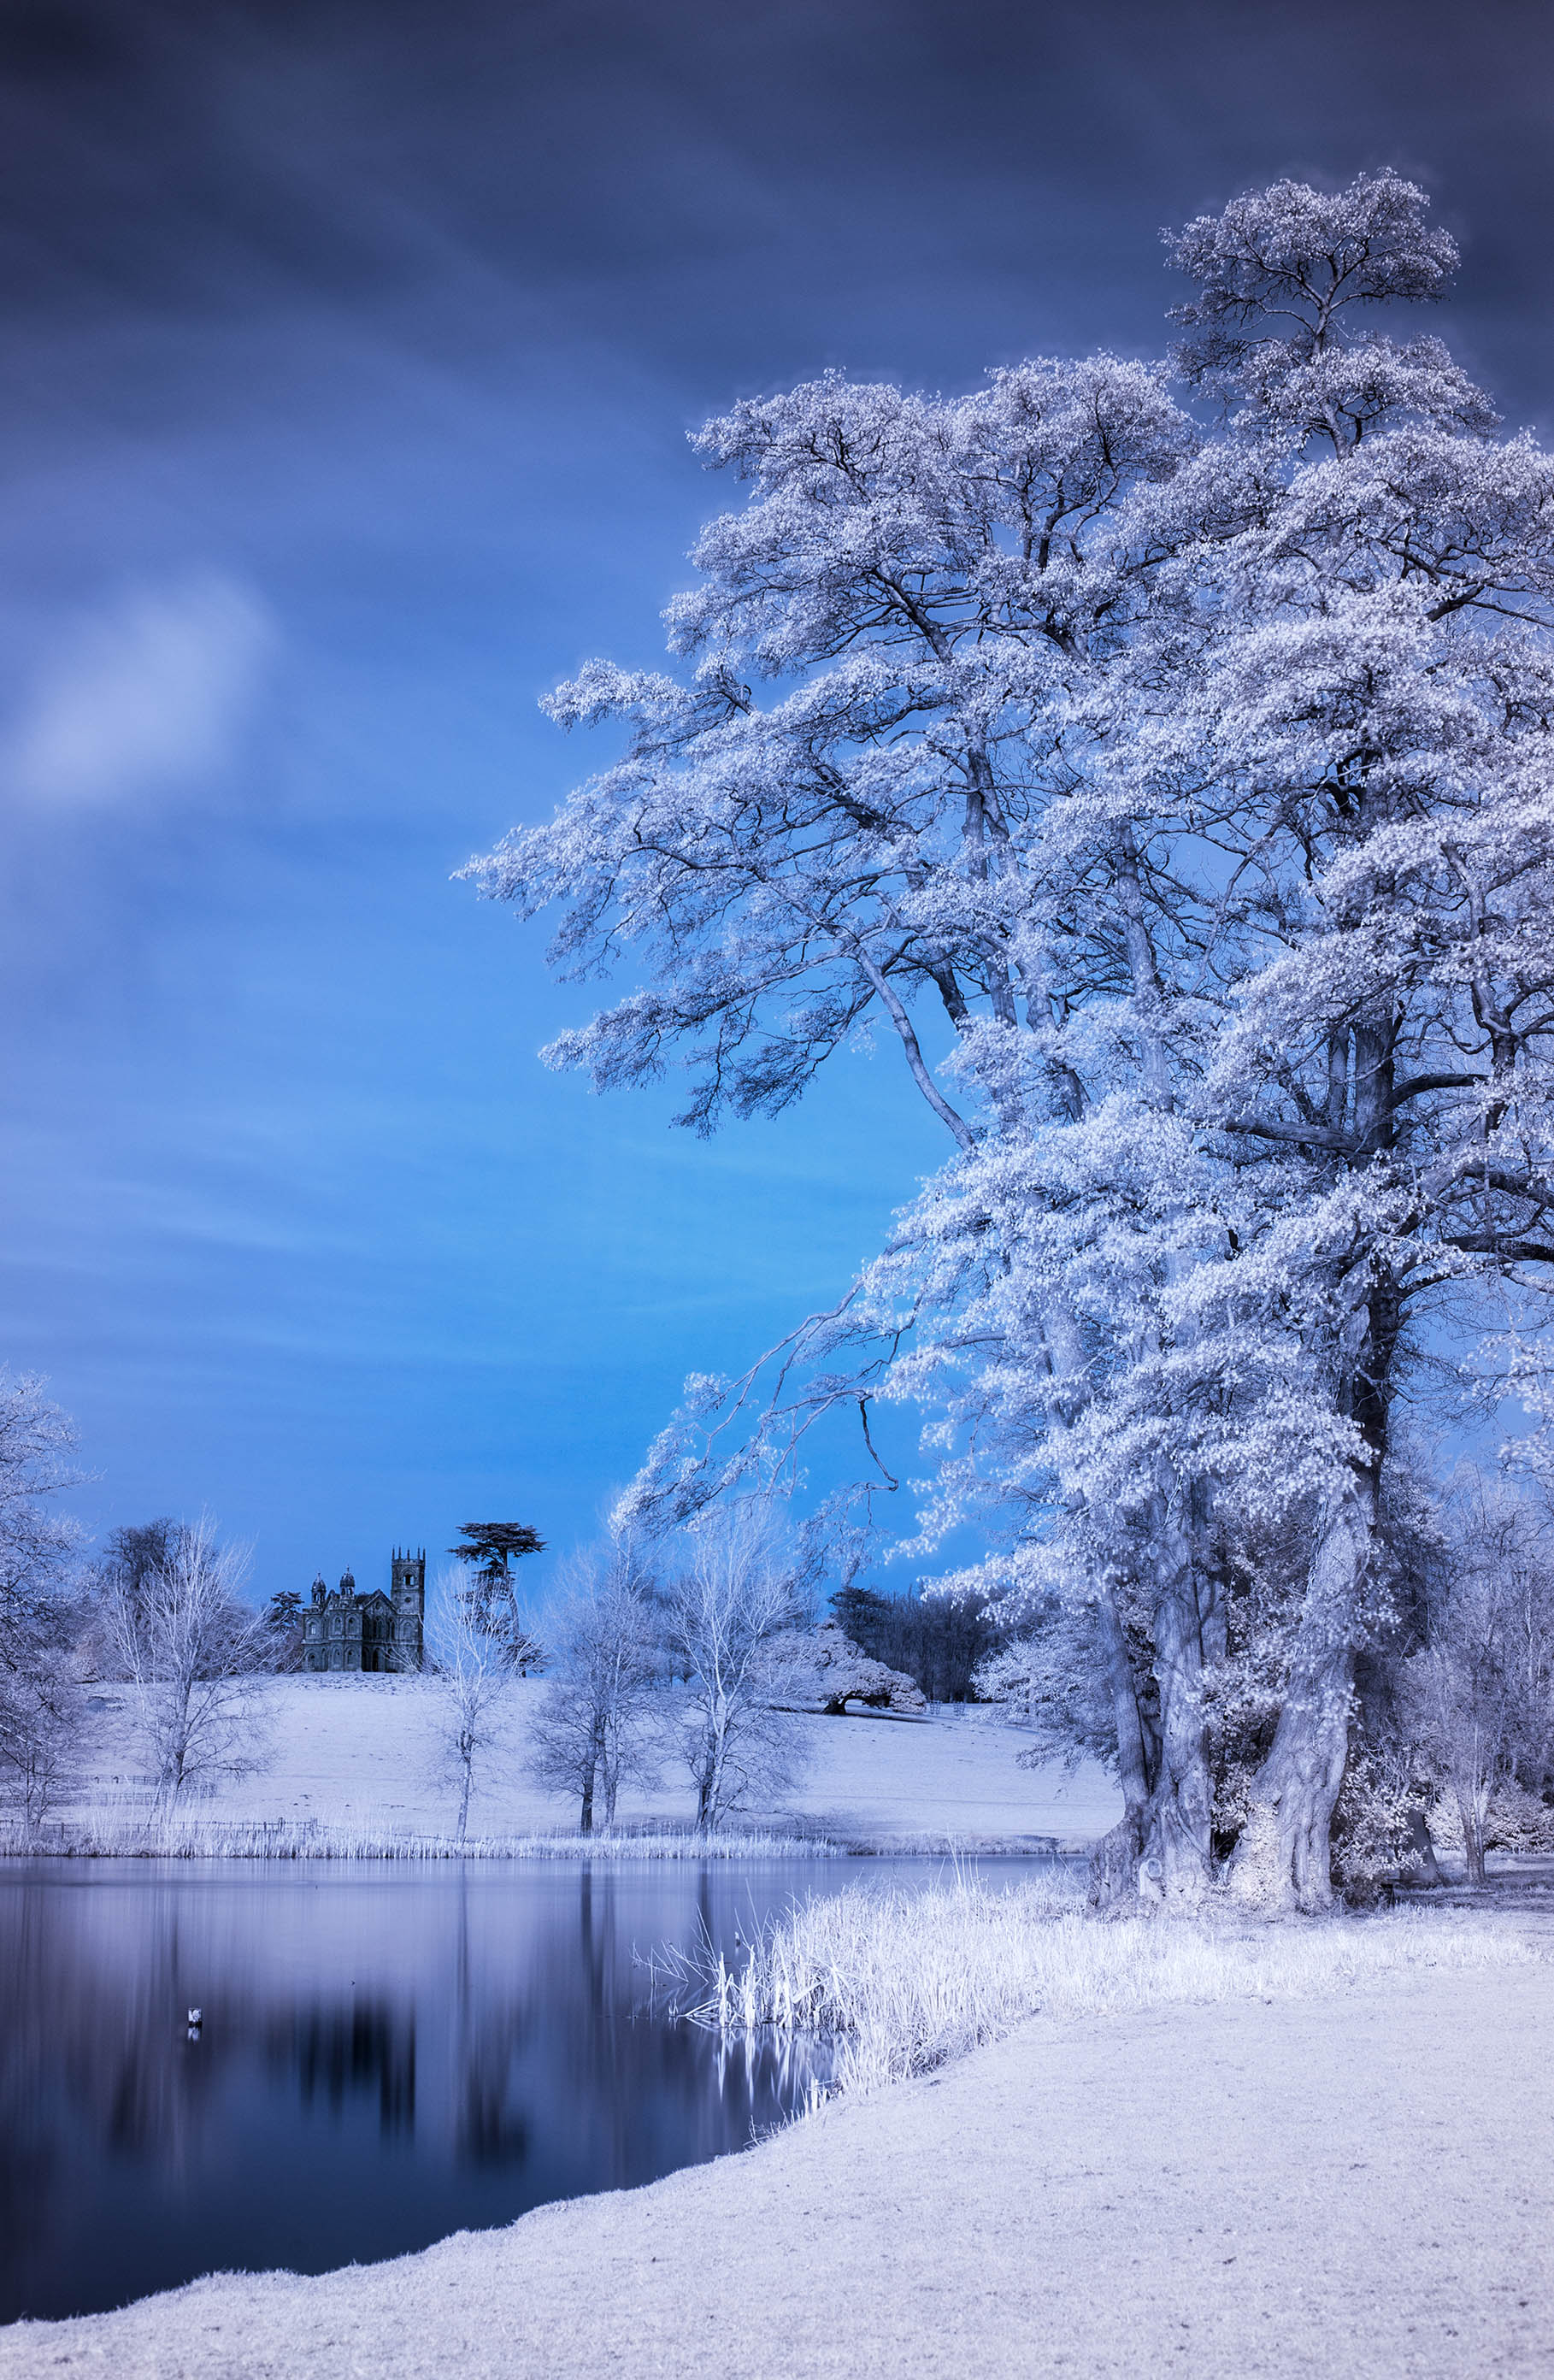
51 seconds, f7.1, ISO 200
#1 Weather
Though you don’t *need* it to be sunny to take lovely shots, it definitely helps because your exposure times will be shorter.
If you’re shooting outdoors, pick the calmest and least windy you can. Because as soon as anything moves it will blur. As we will see this can sometimes be pretty cool, but sometimes not.
#2 Colour/White Balance
This can be the tricky part, but there are a number of ways to get your shots away from that initial red/violet colour:
Set a custom white balance on the camera: take a photo of grass with the infrared lens ON the camera and use this to set a custom white balance. As foliage is white in infrared, this will give you a better white balance in the long run.
Change the white balance in editing software: if you shoot in RAW (which I recommend for infrared) you don’t necessarily need to set the white balance on the camera. When you open up your RAW image on software such as Lightroom or Photoshop, simply drag the sliders all the way to the left (colour temperature 2000, tint -150). My photos taken with a custom white balance set in the camera also come out with these levels.
In both these cases the photos will generally look a yukky browny/orange colour, but have no fear! We can change this in Photoshop.

5 seconds, f4.5, ISO 100
#3 Post-processing
With your yukky brown photo, go to the Channel Mixer on photoshop and do this:
Select the red channel from the drop down menu. Change the red percentage from 100 to 0. Change the blue percentage from 0 to 100.
Select the blue channel from the drop down menu. Change the red percentage from 0 to 100. Change the blue percentage from 100 to 0.
Now your photo should be full of beautiful rich blue and cyan colours :)
Note: These numbers are not set in stone! For unusual/interesting results, try messing around with the channels some more. I like to add a little more colour in the red channel so that the foliage has a pale pink/purple cast to it. So in the red channel I set the red percentage to somewhere between 5 and 15%.
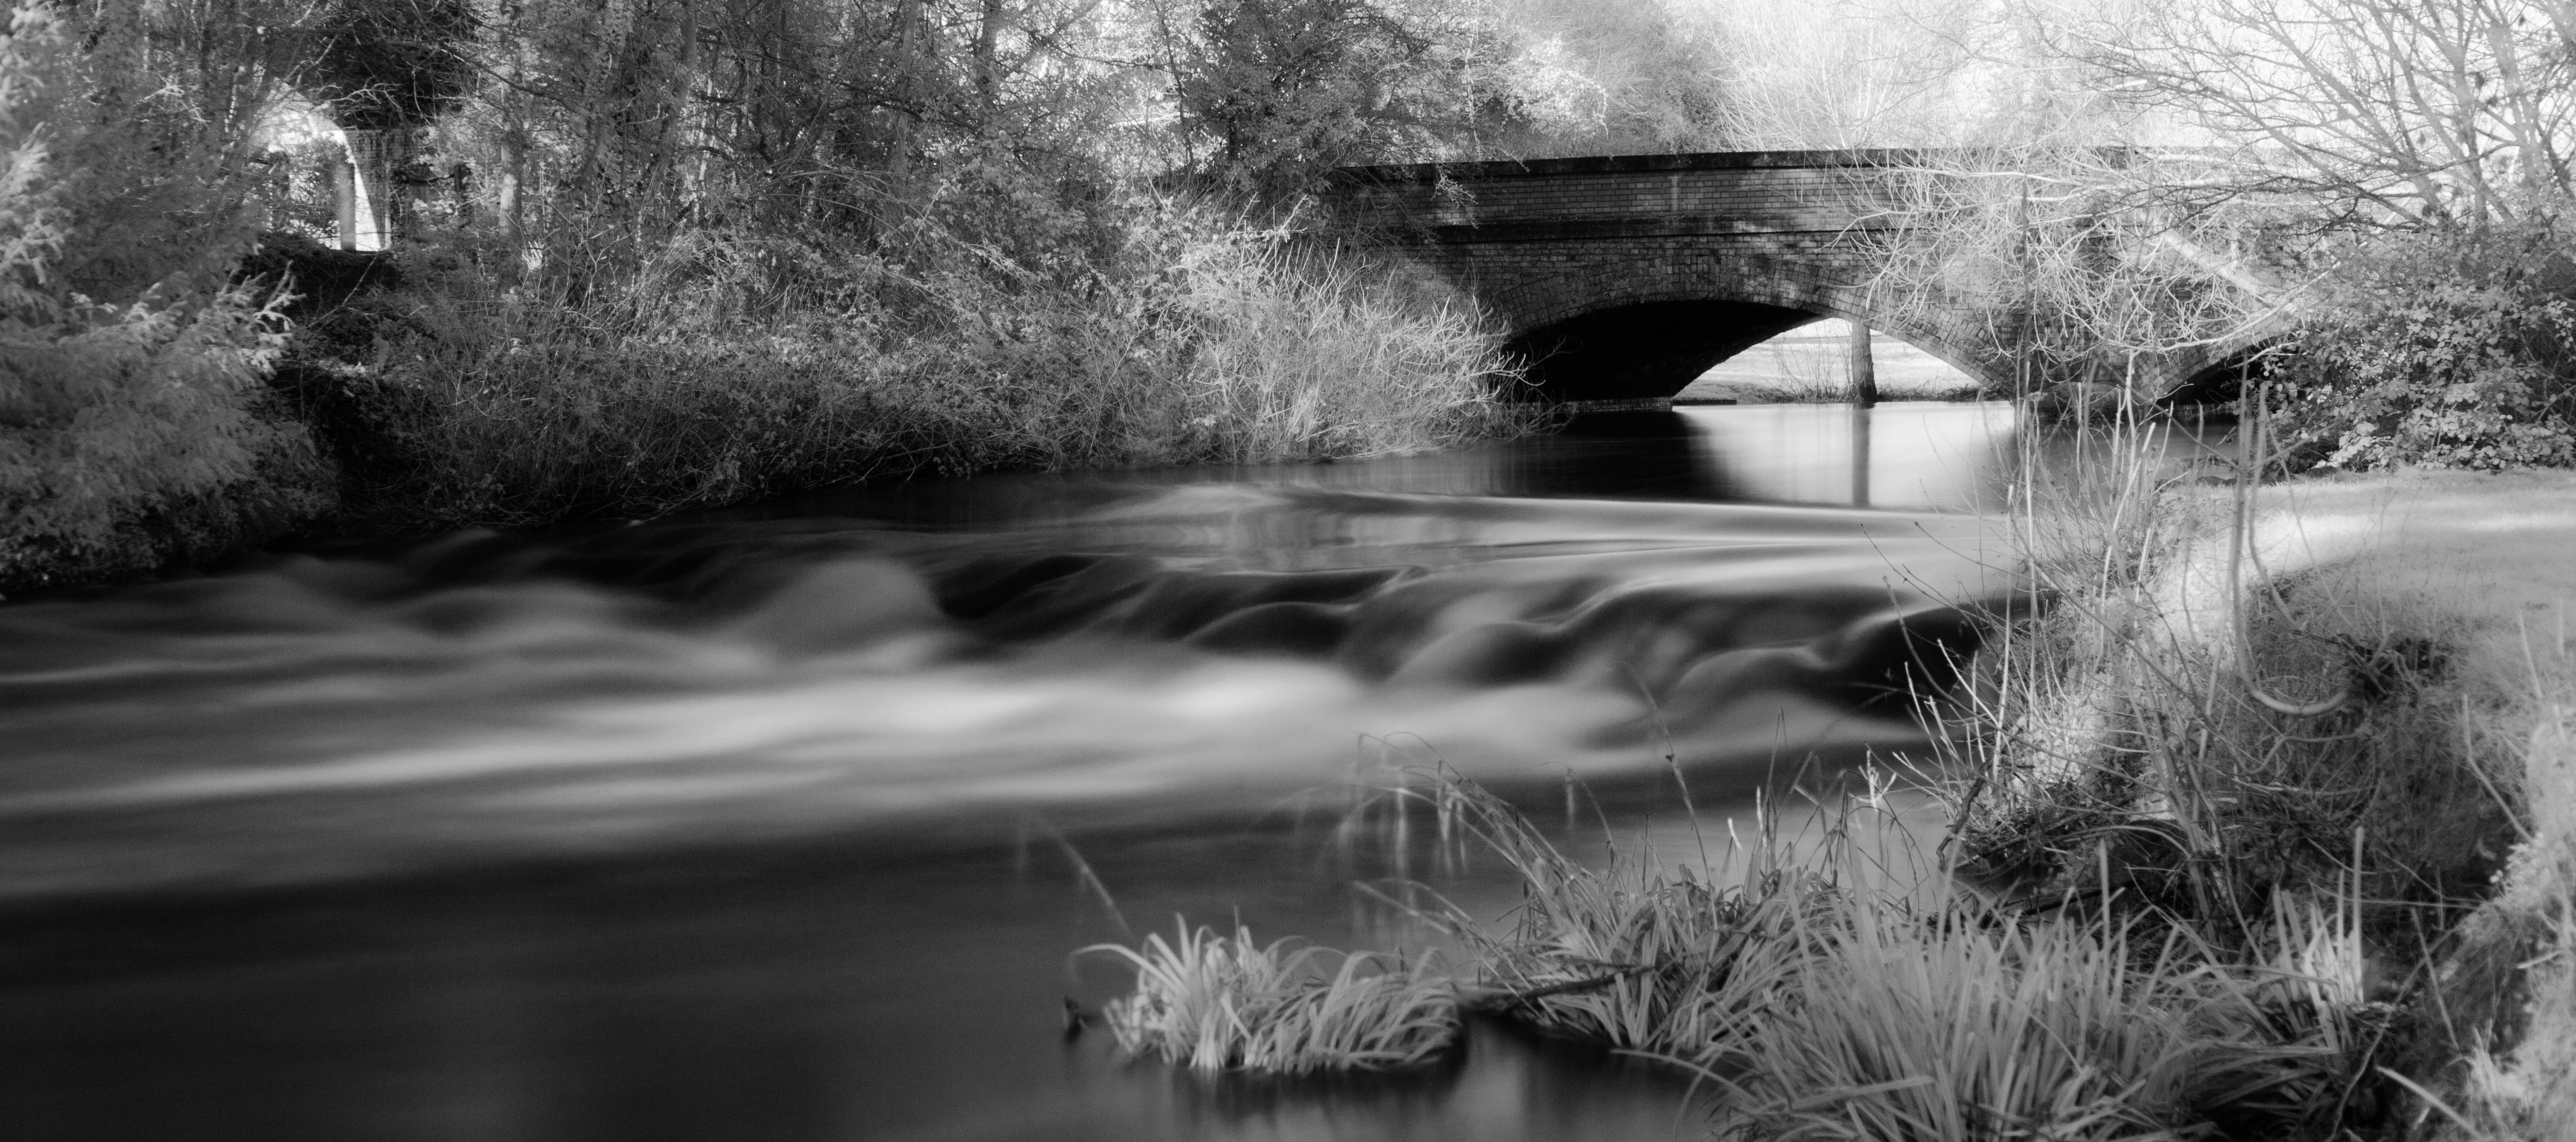
If you’re still having trouble with colours, why not convert it to black and white? The photos in this post generally include one layer that is desaturated by about 60% which just takes the edge off the brightness of the blues, which can sometimes be a little overpowering.
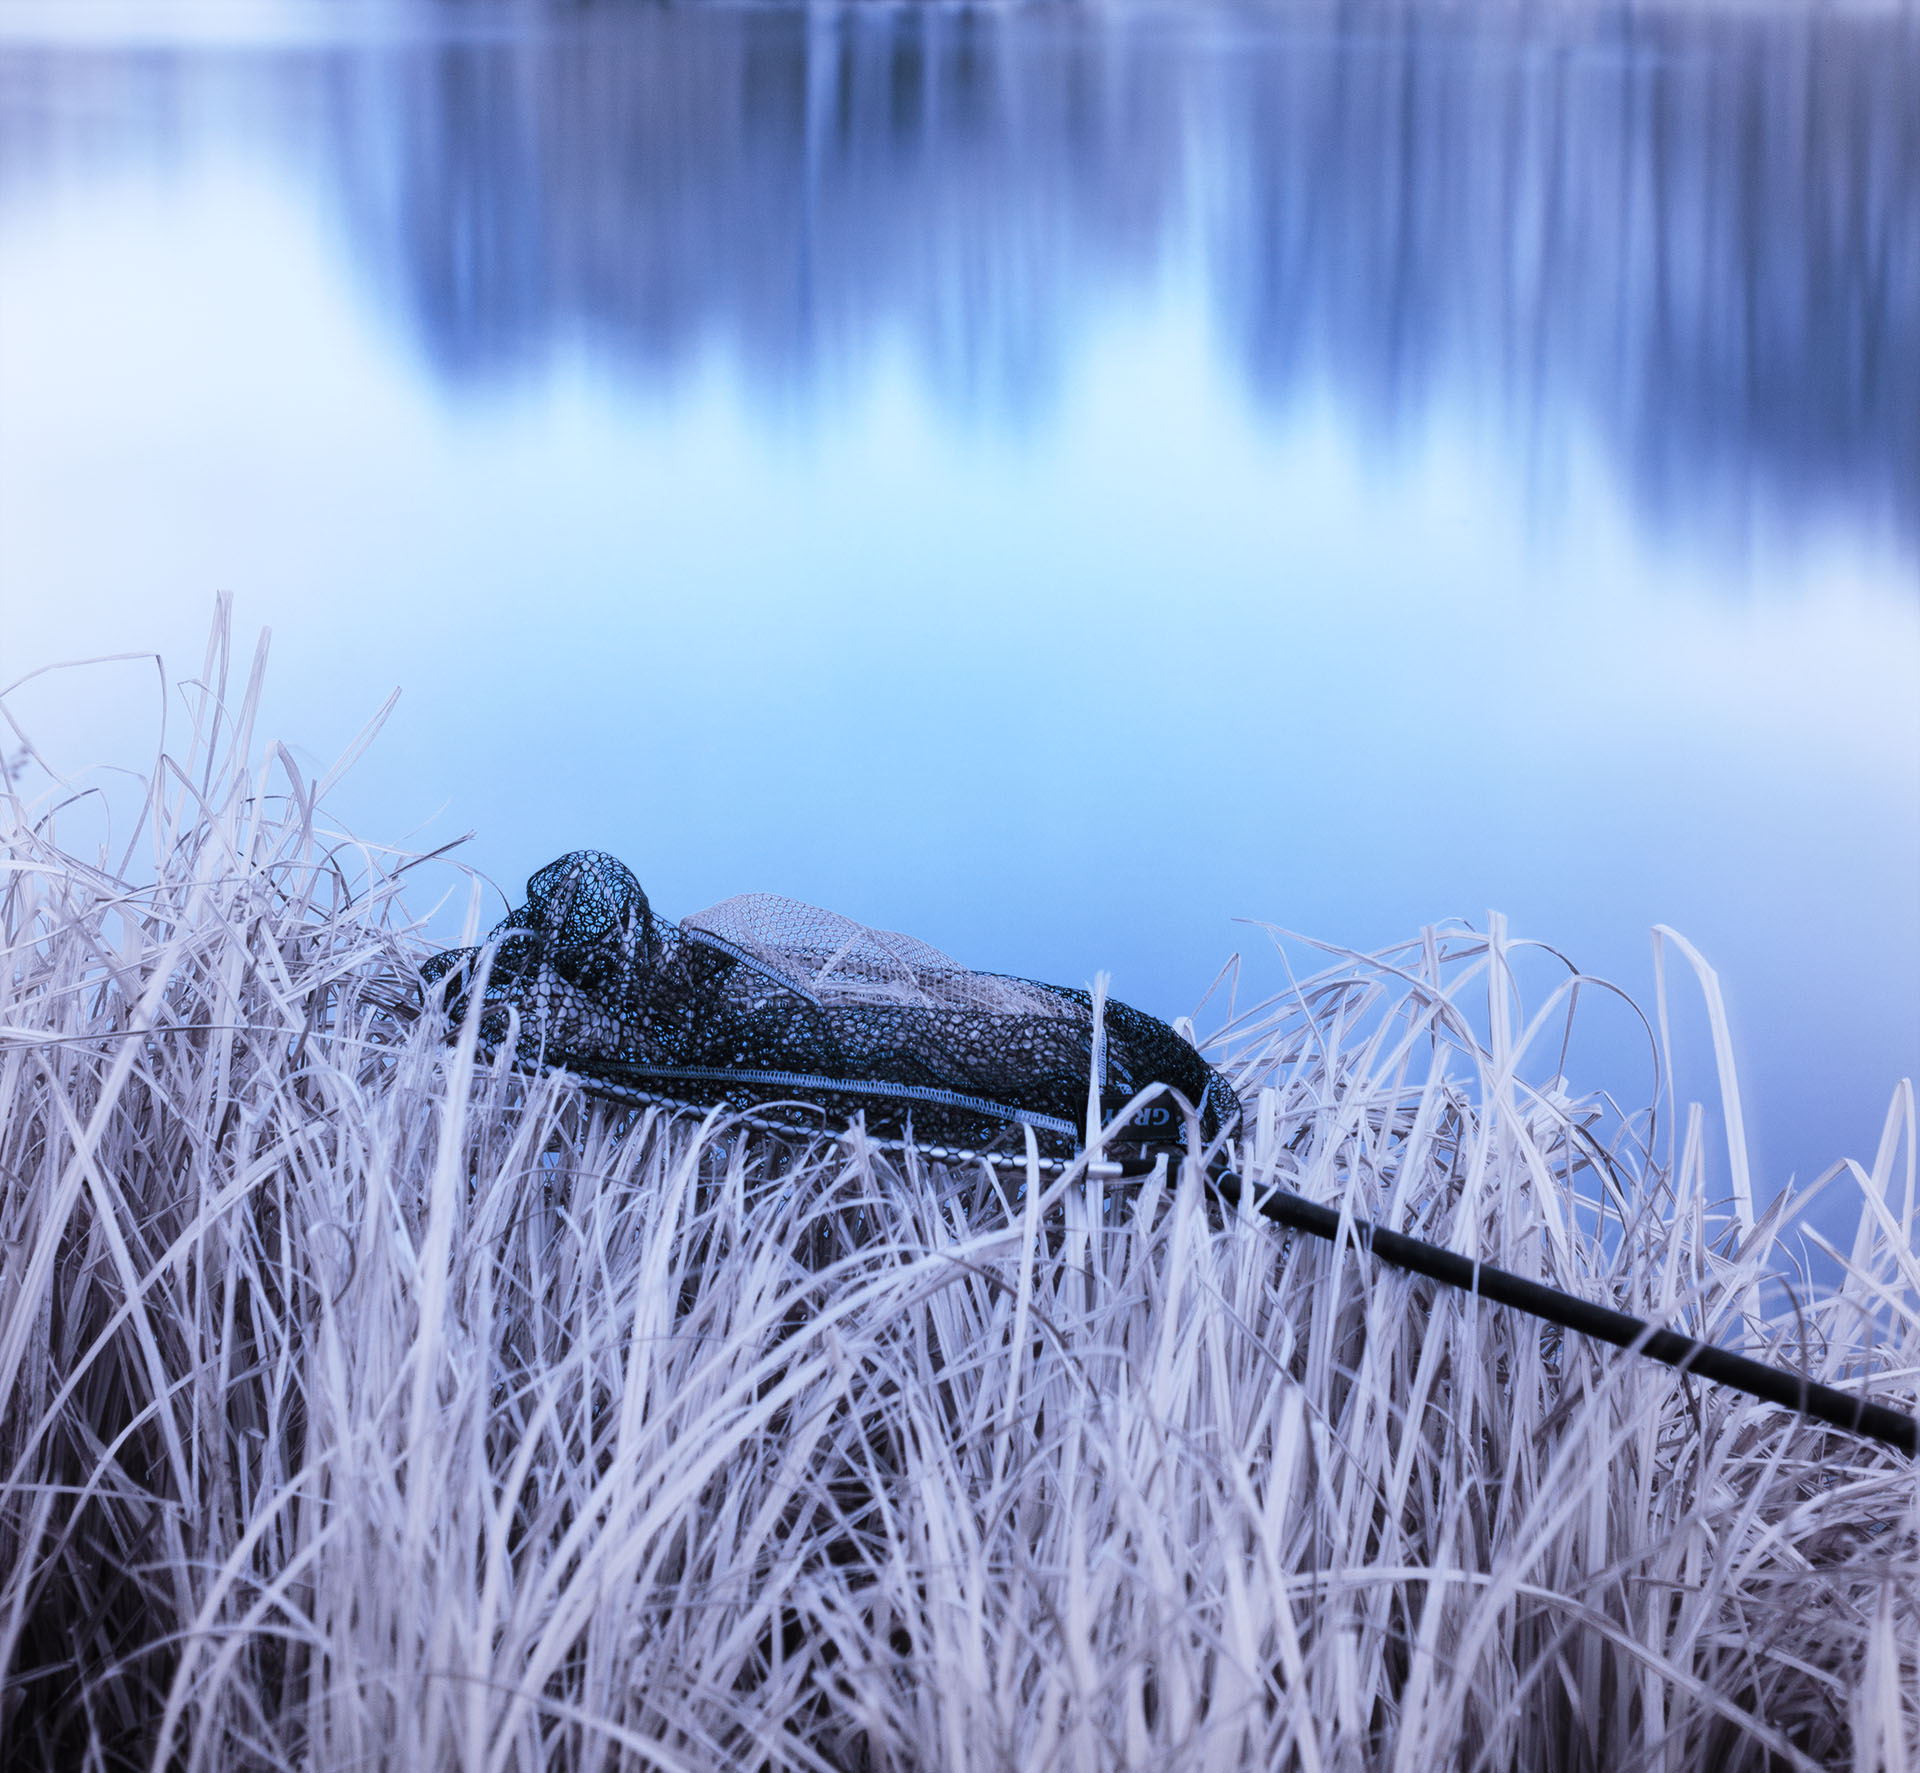
60 seconds, f4, ISO 200
#4 Subject Matter Ideas
So with our undedicated infrared cameras we’re generally stuck with 10-30 second exposure times, though some of you might be luckier than others depending on which camera you’ve got and where you live. I’m stuck at 30 seconds minimum with my 5D3 (though I am shooting on partially cloudy days in the British winter! So all you lucky people who live in hot sunny places will be able to get away with quicker times).
This is undoubtedly a pain, seeing as lots of things will move within 30 seconds and put your photo out of focus. BUT! Why not go with the flow? You’ve basically got yourself the strongest ND filter money can buy! Here are some things that come out very well with these long exposures:
Running water. It looks all dark and brooding in infrared and the reflections will be beautiful.

68 seconds, f5, ISO 500
Team it up with something that doesn’t move, like a big old tree trunk or a bridge. That way you can have all the beautiful movement and still have something in focus that the eye can settle on, and the effect is stunning. Or, just photograph something big and unshakeable in the first place!
30 seconds, f4, ISO 400
Clouds. The movement looks dramatic and dynamic.

26 seconds, f4, ISO 160
Still life (especially plants). Set up your tripod, object and light source (could just be a window) indoors and get ready for some seriously long exposures! Change your camera setting to ‘BULB’, grab your remote control, open the shutter then go make a cup of tea :) In anything from 1 – 10 minutes later, close the shutter up, stay still, and as long as there are no draughts or earthquakes, you should be looking at a beautiful infrared still life :)
I hope you find these tips helpful and inspiring :) For further reading check out these sites:

i’ve been thinking about buying a infrared filter! beautiful work. how long were some of these exposures? i know they tend to be rather long because they are blocking all other waves of light, aside from infrared.
Thanks! The filter cost me £25, so I definitely recommend it :) These exposures were generally 30 seconds, some 60, and the rose was 4 minutes!